Sunday, March 14, 2021

The Tower(s)

Time for a new landscape. Two very similar sky fabrics I had painted a long time ago were calling from the closet--so, the more colorful one became water, reflecting the paler one.

Fabric audition

As soon as they went up on the design wall, my favorite stone fabric came to mind. I've kept plenty in stock ever since making a tower from it 8 or 9 years ago...

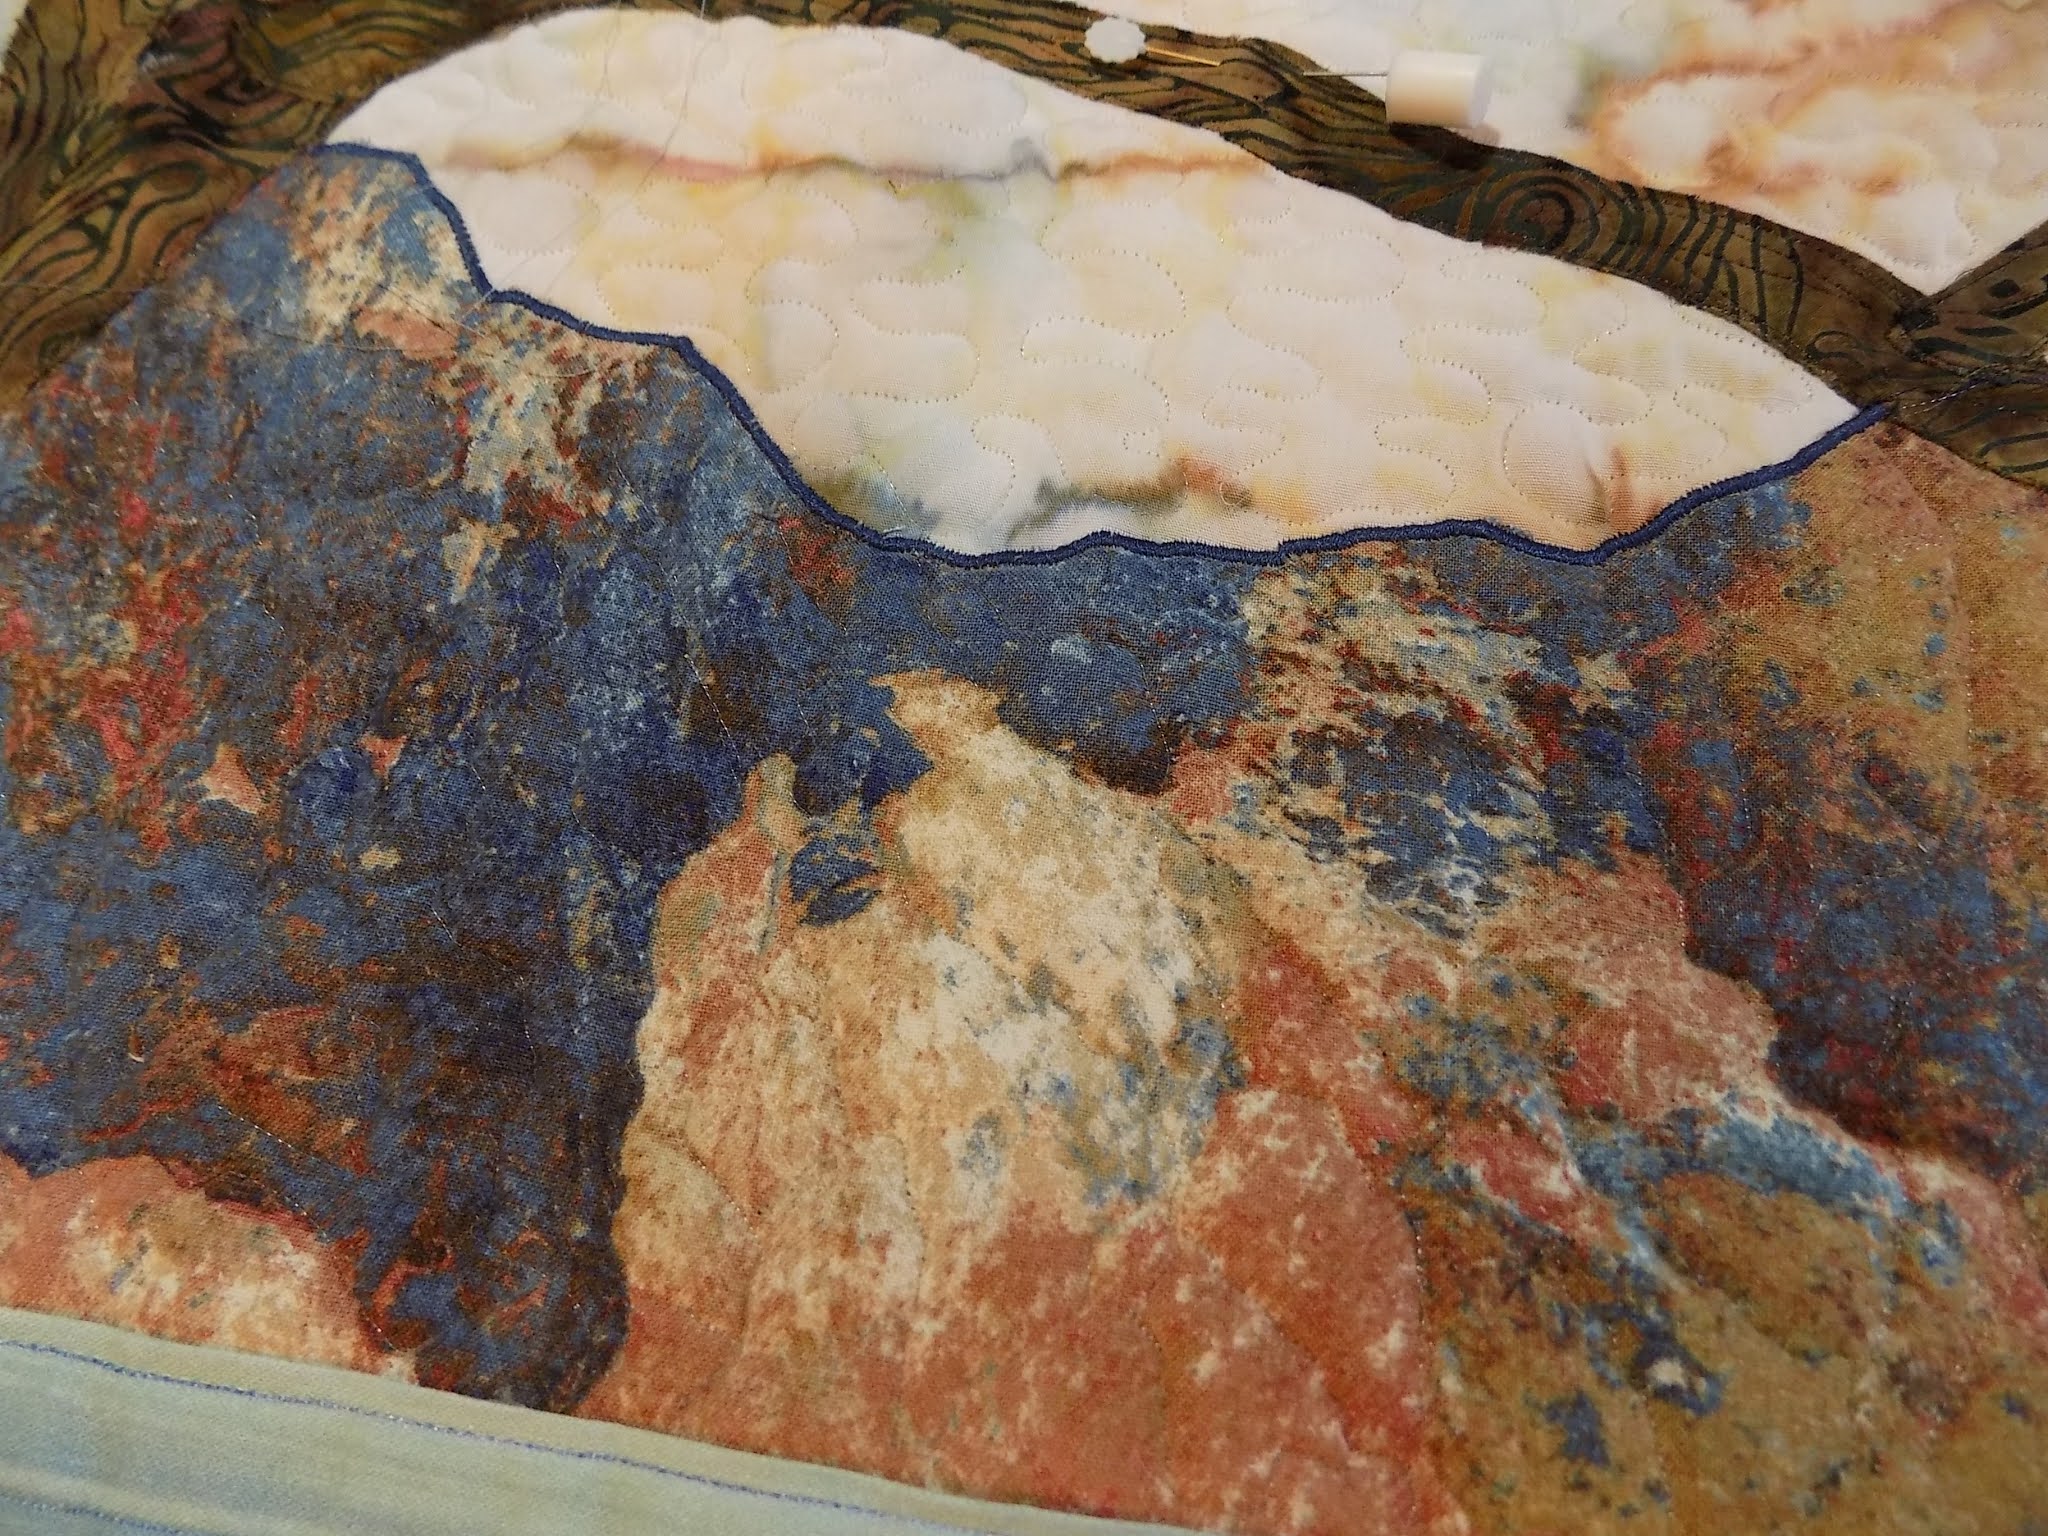
Section of my first tower quilt, The Tower

...so I decided to make a tower again, though with some variation.

The current tower, which finished at 25" long, began with the piece on the left...which after staring at it reminded me of a sausage...


...so I trimmed and tapered it more. The buttress/battlements section was pieced separately and glued atop the columnar piece, then delineated with two rows of black satin-stitch. Windows and a door were added. After some consternation at seeing the slightly lopsided doorway, I decided to write it off as a stonemason issue. How perfectly could they work with uncut stone, anyway? πŸ˜‰

While the tower was being constructed, the background was developing, too. Not that I was in two places at once, but it was nice to periodically break away from one to work on the other.
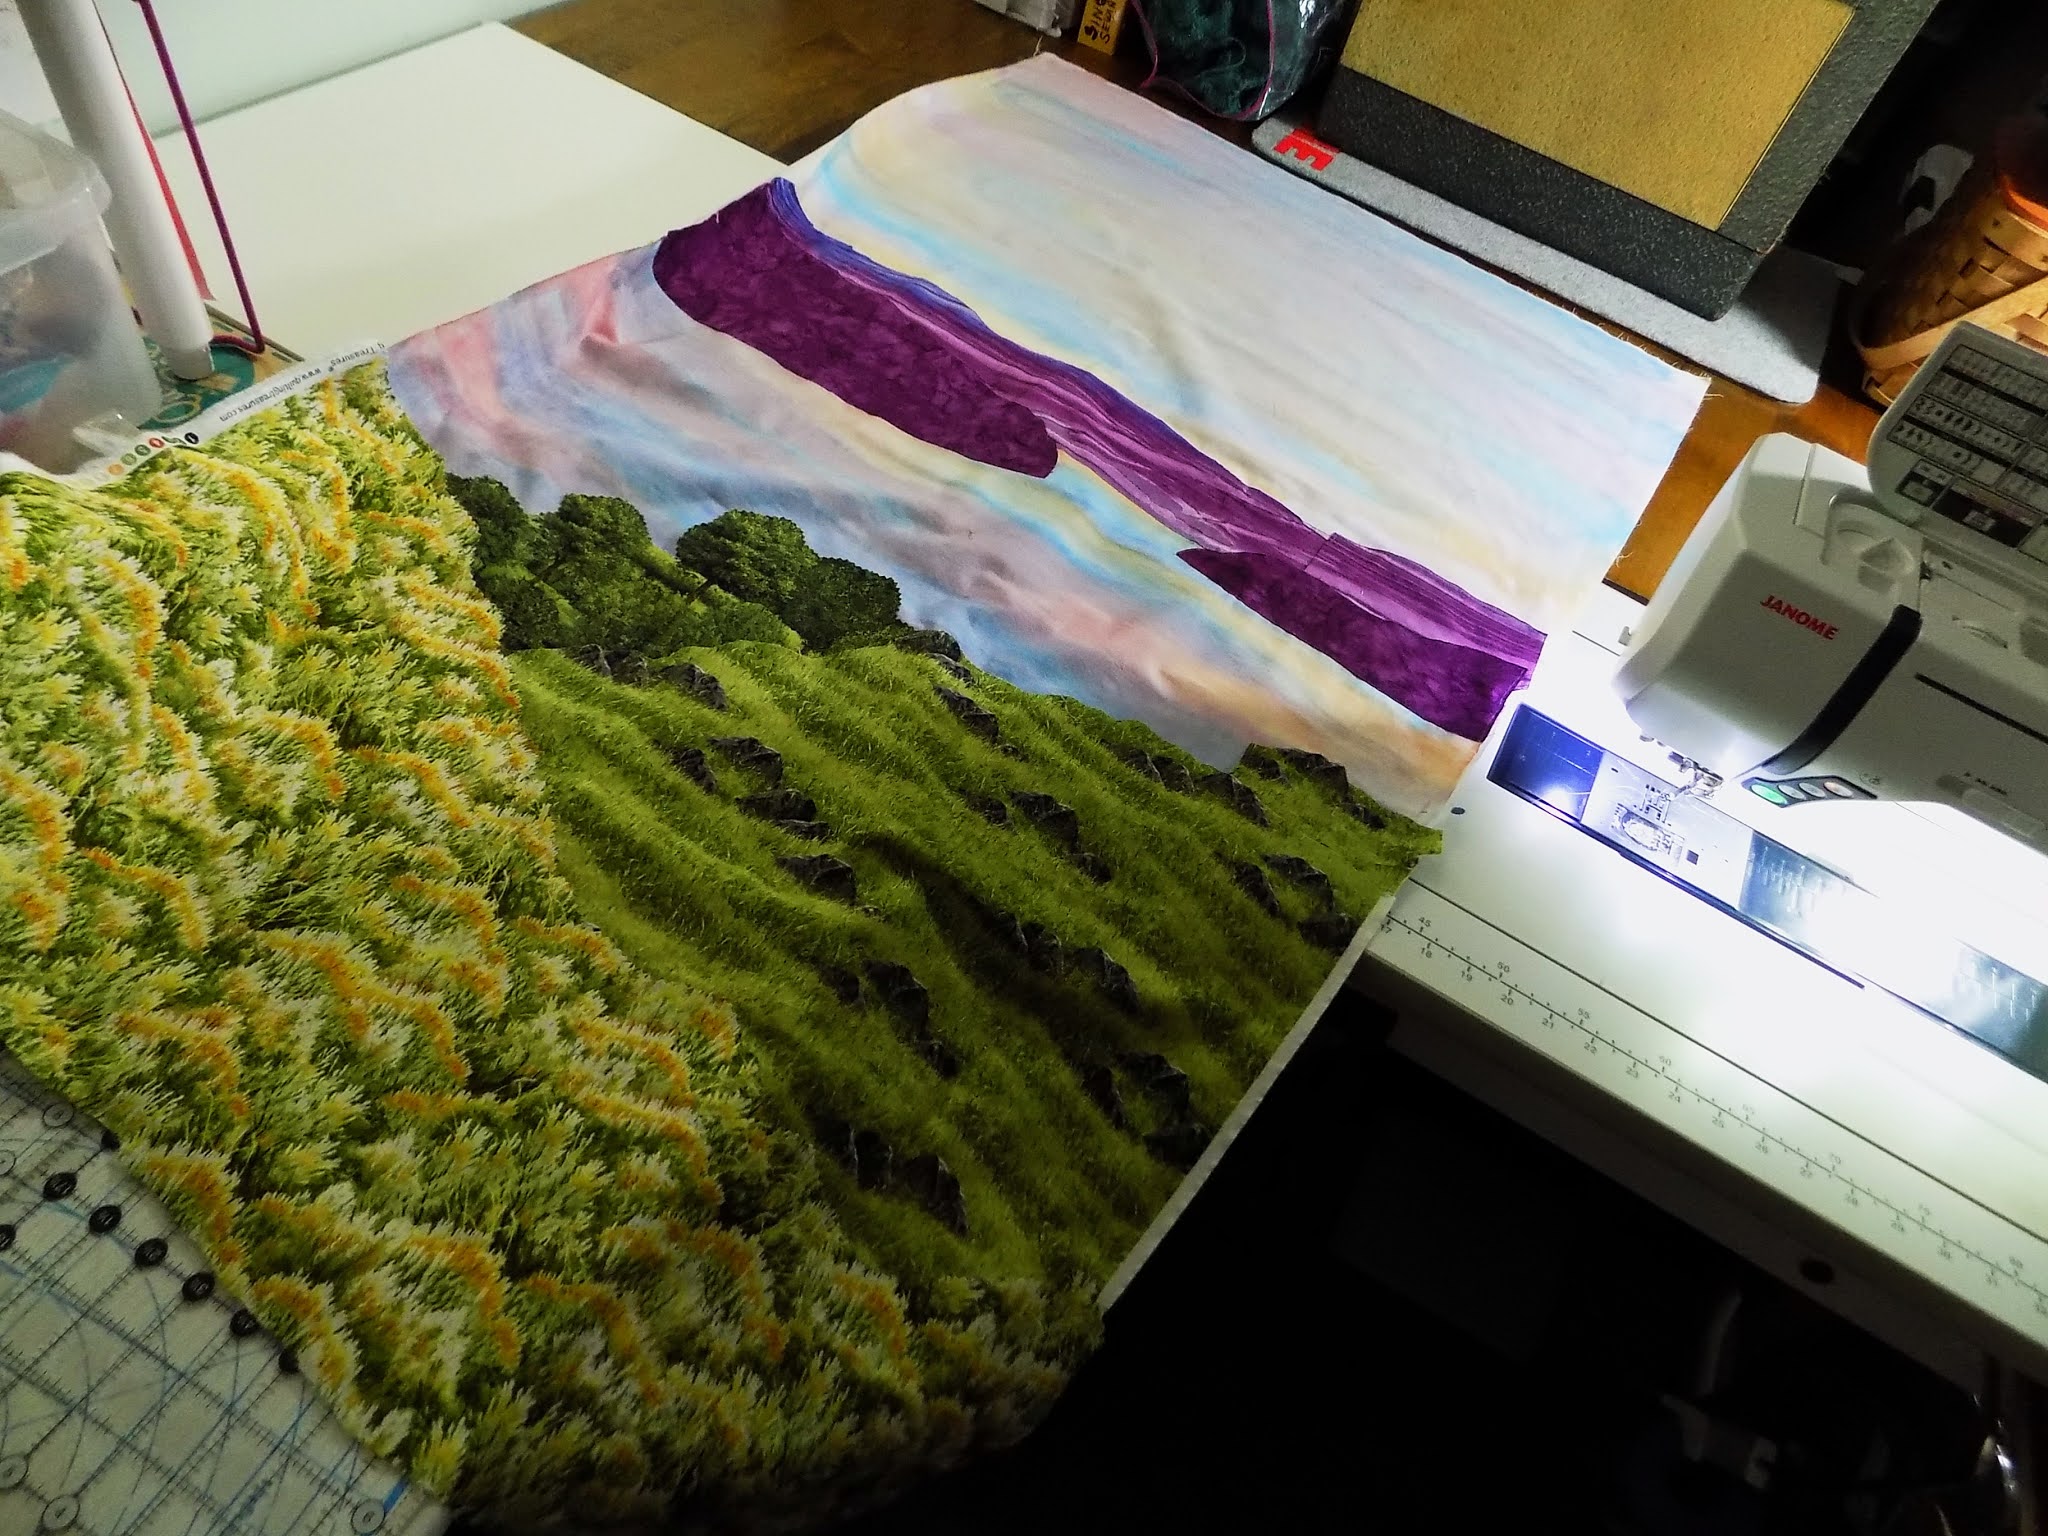
Here the raw edges had just been free-motion stitched to the quilt top with clear mono-poly thread.

The day after I finished piecing this new tower, I was thrilled to receive an e-mail from Art Quilting Studio magazine, saying they had selected my first tower quilt for publication in their Summer 2021 issue. And how coincidental is that?!? They of course had no idea about what I'm working on currently!

Next time, the finished quilt.

Happy almost-spring here in the northern hemisphere! Happy almost-autumn in the southern one.

Linda

Thursday, February 11, 2021

Hilltop View

This week it's a finish for "Hilltop View" (and a start for another landscape). Glad to have this one done, and relieved I can still handle a landscape this size using the hack(s) covered in my last post.

On to photos (excuse the pins at top):

Hilltop View, 42" wide x 43" long

Click on any photo to enlarge:


(shows texture a bit better)


(Forgot it was February! Where did the time go?)

The quilt is listed in my shop now (see Etsy link button on sidebar) and ready for shipping!

Have a great weekend!

Linda

Wednesday, February 3, 2021

No Guts, No Glory

Lots of progress has been made on the "sky and branches" prompt from the previous post. Working on the binding now. But in this post I want to get into the guts of the project. (Warning: if you aren't interested in making landscape quilts, you might want to skip this post.)

This is a large landscape, at least for me, roughly 43 x 42 inches, and I knew that all this free-motion quilting would present a weight/drag issue (meaning a neck, shoulder and arm problem) at the sewing machine if I didn't come up with a hack or two. So here's my hack. (Fusible batting tape is a must for this.)

All quilted. You can see all my joins here--none are visible on the front. (Click to enlarge.)

I should start by saying it probably takes less time to do this than to read about it! :)

1. Put the backing fabric aside for now. You are going to quilt the top to the batting only, saving the backing fabric for later (and saving your neck, shoulders and arms a lot of strain). And to further decrease the weight and drag of free motion stitching, you will cut batting pieces into sections, basting the first one to the middle of your quilt top and quilting that area first. However, do not quilt all the way to the batting edges--leave about a 2-inch margin wherever another section will be added. (Tip: On the quilt top, mark your boundaries with a couple of pins to keep from quilting too far in any area.)

2. To add the next section of batting, overlap an edge of the new piece with the unquilted margin of the first piece. With scissors only, carefully (don't nick your quilt top!) cut through both layers of the overlapped batting edges (pull out the trimmings). This will make the edges a perfect match no matter how crooked you cut and they will butt right up against each other.

3. Use fusible batting tape to join the edges, following package instructions and pressing gently; make sure the tape bonds well.

4. Keep quilting from the middle outward, adding batting sections as needed. Once the batting tape is fused, you can quilt right over that area--you won't feel it from the front, and no one will ever know there's a join there.

5. When the quilt top is completely batted and quilted, baste those layers to the backing fabric, using your preferred method of quilt basting. Then just satin-stitch over some of the main contours throughout your quilt top, which will give the landscape a more finished look and will automatically attach the backing fabric. For this I used my walking foot with the feed dogs up and took it slow--no drag.


(If you really want to add more quilting, go for it!)


At this stage, the final details were added to the quilt, facilitating further attachment of the backing fabric.


Next time, the finished quilt. If you got this far, thanks for sticking with it. Please comment if anything is unclear or if you have some ideas to add. Thanks!

Linda

Tuesday, December 29, 2020

Back in the Saddle Again

Just a few words about the  l o n g  delay since the last post: Yard work, crochet, basement reorganization, holidays...you get the picture. (No Covid, thank heaven and knock on wood---but also no quilt inspiration, until recently). 


This piece of batik fabric had been in the stash for a couple of years and it finally made itself heard. "Sky and branches," it said.

"Okey-doke," I replied.

Fabric auditions ensued (click on any photo to zoom):


Mountains popped up:


The water stayed, and some hills developed. (A sailboat was added; it will show up in the finished quilt.)


The colors were nice but looking fairly muted. The striped batik brought in the "pop," and ding went the internal bell that says, "It's a go!"


More auditions and additions...


This little guy may be repositioned. >>

Today it was ready for tacking down raw edges by machine. (The critters will be added after the main quilting. Much easier than trying to quilt around them all.)


I can't tell you how good it feels to be back in the saddle again.

Happy new year, everyone. It's got to be better than 2020.

Linda