Lots of progress has been made on the "sky and branches" prompt from the previous post. Working on the binding now. But in this post I want to get into the guts of the project. (Warning: if you aren't interested in making landscape quilts, you might want to skip this post.)
This is a large landscape, at least for me, roughly 43 x 42 inches, and I knew that all this free-motion quilting would present a weight/drag issue (meaning a neck, shoulder and arm problem) at the sewing machine if I didn't come up with a hack or two. So here's my hack. (Fusible batting tape is a must for this.)
 |
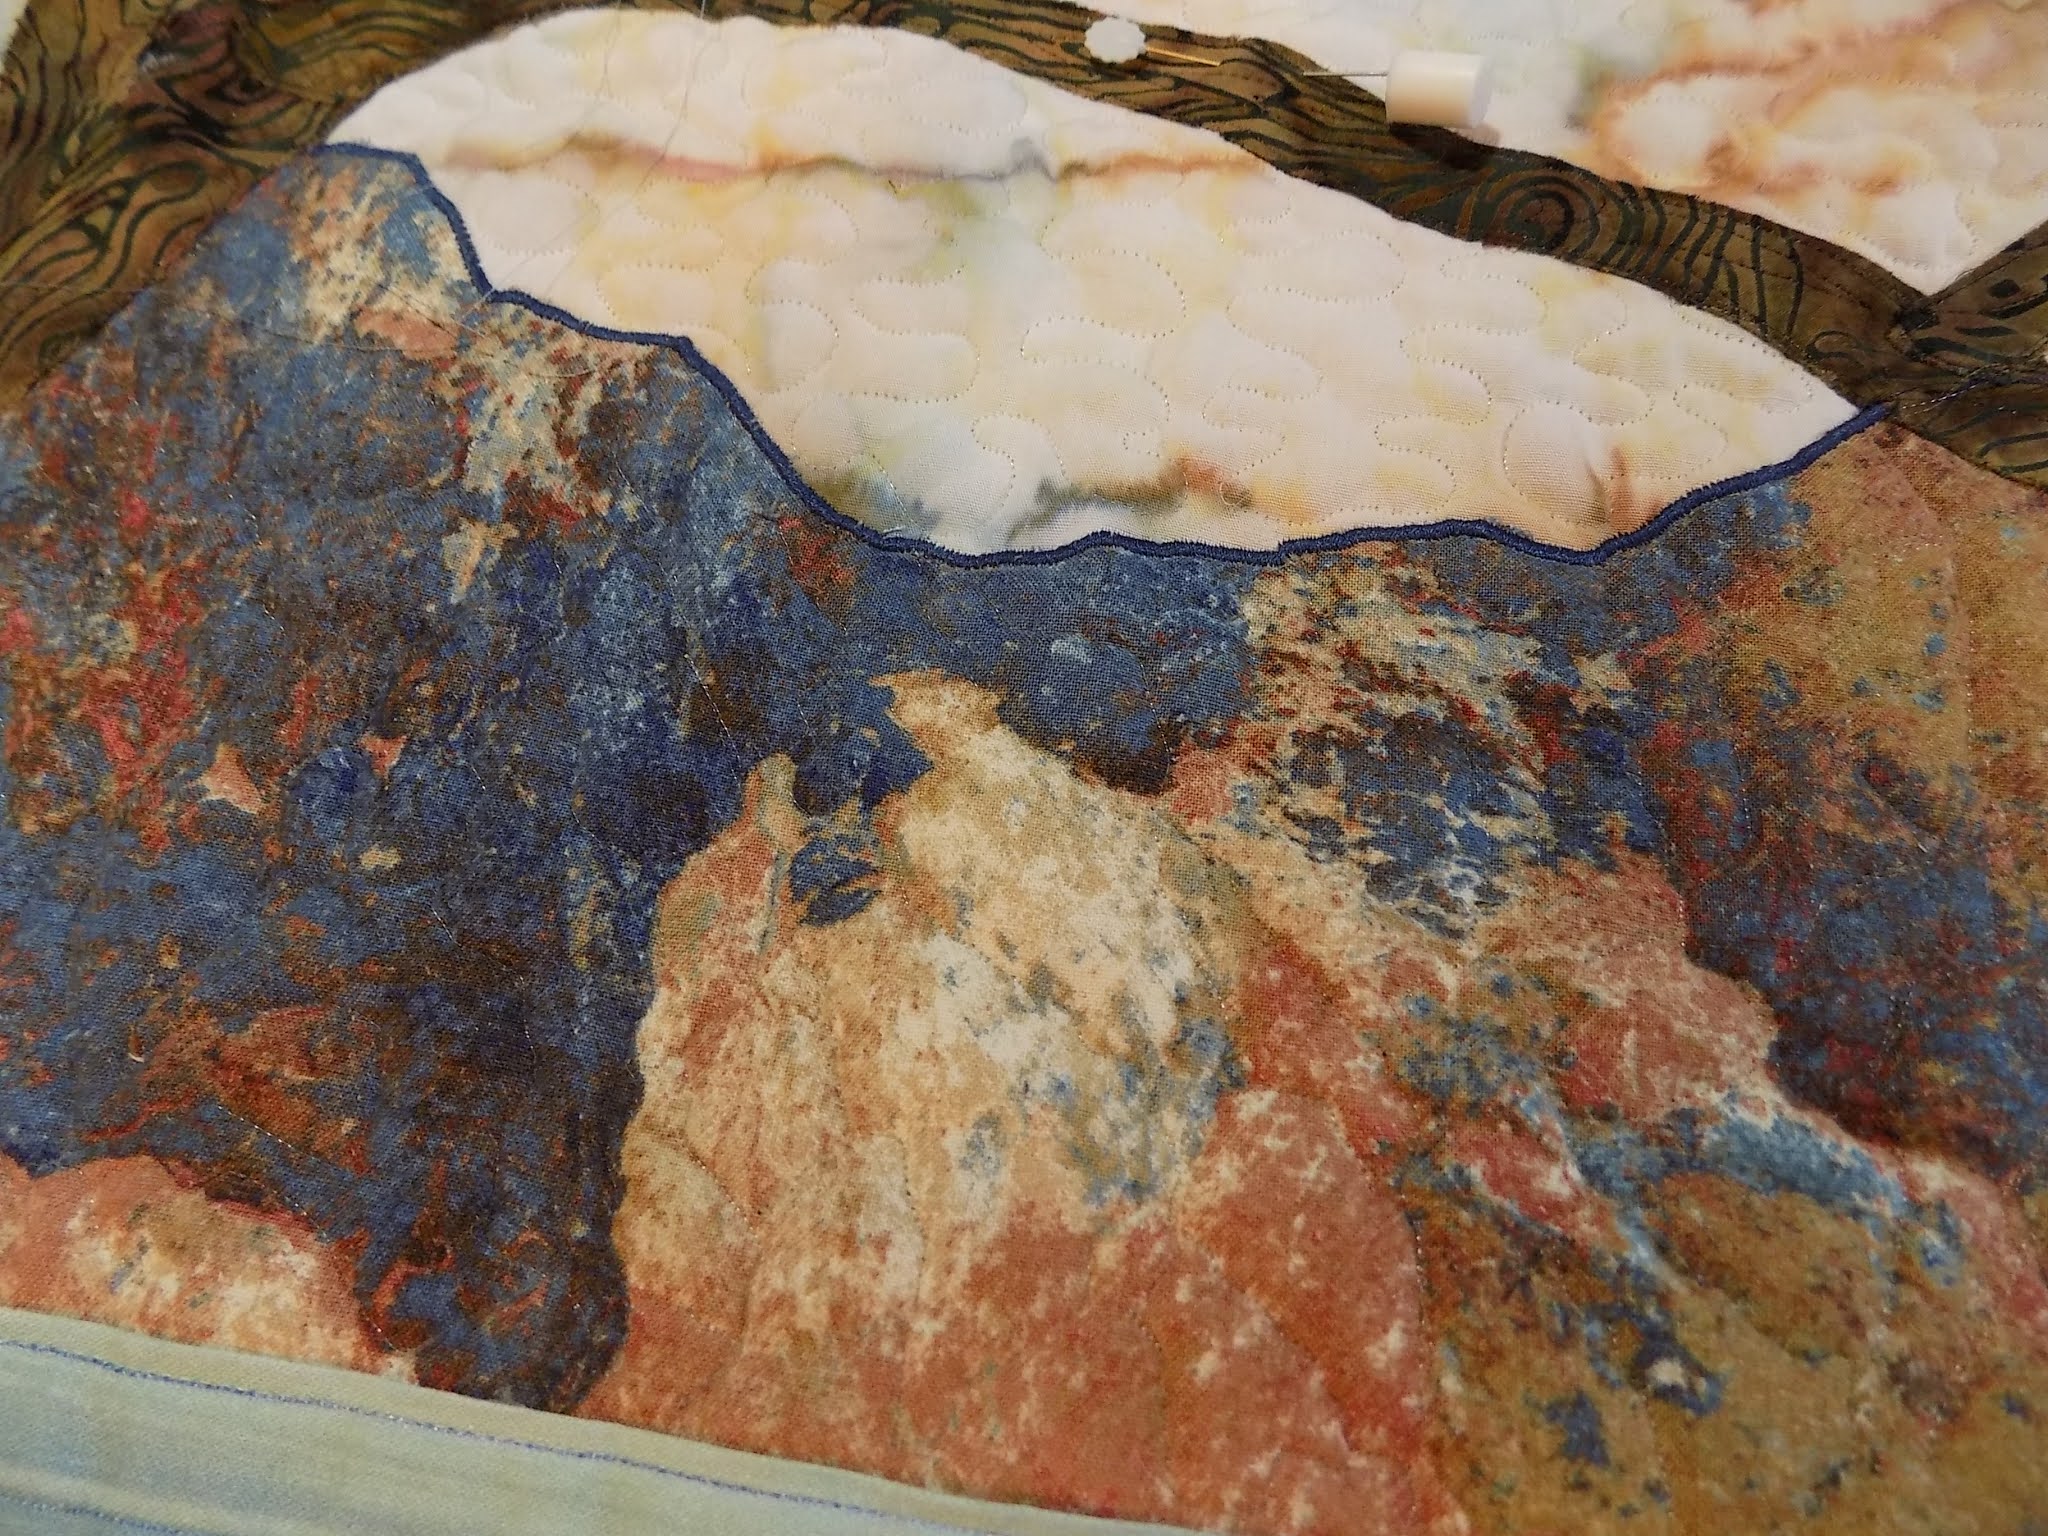
| All quilted. You can see all my joins here--none are visible on the front. (Click to enlarge.) |
I should start by saying it probably takes less time to do this than to read about it! :)
2. To add the next section of batting, overlap an edge of the new piece with the unquilted margin of the first piece. With scissors only, carefully (don't nick your quilt top!) cut through both layers of the overlapped batting edges (pull out the trimmings). This will make the edges a perfect match no matter how crooked you cut and they will butt right up against each other.
3. Use fusible batting tape to join the edges, following package instructions and pressing gently; make sure the tape bonds well.
4. Keep quilting from the middle outward, adding batting sections as needed. Once the batting tape is fused, you can quilt right over that area--you won't feel it from the front, and no one will ever know there's a join there.
5. When the quilt top is completely batted and quilted, baste those layers to the backing fabric, using your preferred method of quilt basting. Then just satin-stitch over some of the main contours throughout your quilt top, which will give the landscape a more finished look and will automatically attach the backing fabric. For this I used my walking foot with the feed dogs up and took it slow--no drag.

(If you really want to add more quilting, go for it!)

At this stage, the final details were added to the quilt, facilitating further attachment of the backing fabric.
Next time, the finished quilt. If you got this far, thanks for sticking with it. Please comment if anything is unclear or if you have some ideas to add. Thanks!
Linda
Great tips Linda, thank you! I always quilt mine without the backing on and instead use a thin layer of fabric (usually an old sheet does the trick) on the back. Once it's quilted I add the 'proper' backing. So sort of the same as your process. I've never quilted through to the backing though and have always left it loose. I think I'll try your suggestion and see how it does next time. I'm pretty much entirely self-taught so your method is really helpful to know!
ReplyDeleteHey MA--Wow, interesting that you are not using batting! So I'm wondering, do you get enough puff/texture using the fabric/sheet? I can rarely tell from anyone's photos (including mine--how I wish) what the texture really looks like.
Deleteoops - sorry....I didn't explain myself well at all!! Yes I do use batting - my 'sandwich is made up of the outer landscape, a layer of lightweight cotton, batting, and another layer of lightweight cotton. The first layer of cotton is more to help stabilize the landscape while I work on it. After I add the batting and the 2nd layer of cotton I do the quilting and then I add the backing itself without quilting it. Does that make more sense?
DeleteOh, okay, gotcha. I used to always put my top pieces on a layer of muslin, but I'm getting to where I skip that layer if I can, just to cut down yet some more on the weight I'm dragging around on the machine when using free motion. Also less thickness for my needle to penetrate. But sometimes I find it's worth having that extra layer regardless. It's definitely more secure, too. Case in point, I literally had to patch one little area from the back of my top yesterday...I somehow had left no overlap between my mountains and water there. Fortunately the patched area is going to be covered over with a stone tower. Thanks for elaborating for me!
Delete